

Your garage door is one of the most significant focal points for the exterior of your home. It adds character and dimension to help you stand out in the neighborhood. However, an aging or poorly designed garage door can make your home look worn down. Instead of replacing the garage door, consider a fresh coat of paint. New paint can go a long way to enhance the look of your door and the overall appeal of your home.
In this post, discover how to paint garage doors correctly for maximum curb appeal. To start, reserve roughly three days for the entire project.
Choose the Right Type and Color of Paint
Most garage doors these days are made with aluminum. The problem with painting aluminum is that the paint chips off without the proper base. Talk about a frustrating waste of time and money. Grab an exterior oil-based paint and primer for aluminum doors to combat this. Choose an oil-based or latex paint or stain if your garage door is wooden.
Paint helps extend your garage door’s lifespan by adding an extra layer of protection. Using a semigloss paint helps with maintenance because dirt and mildew have a hard time sticking to the surface.
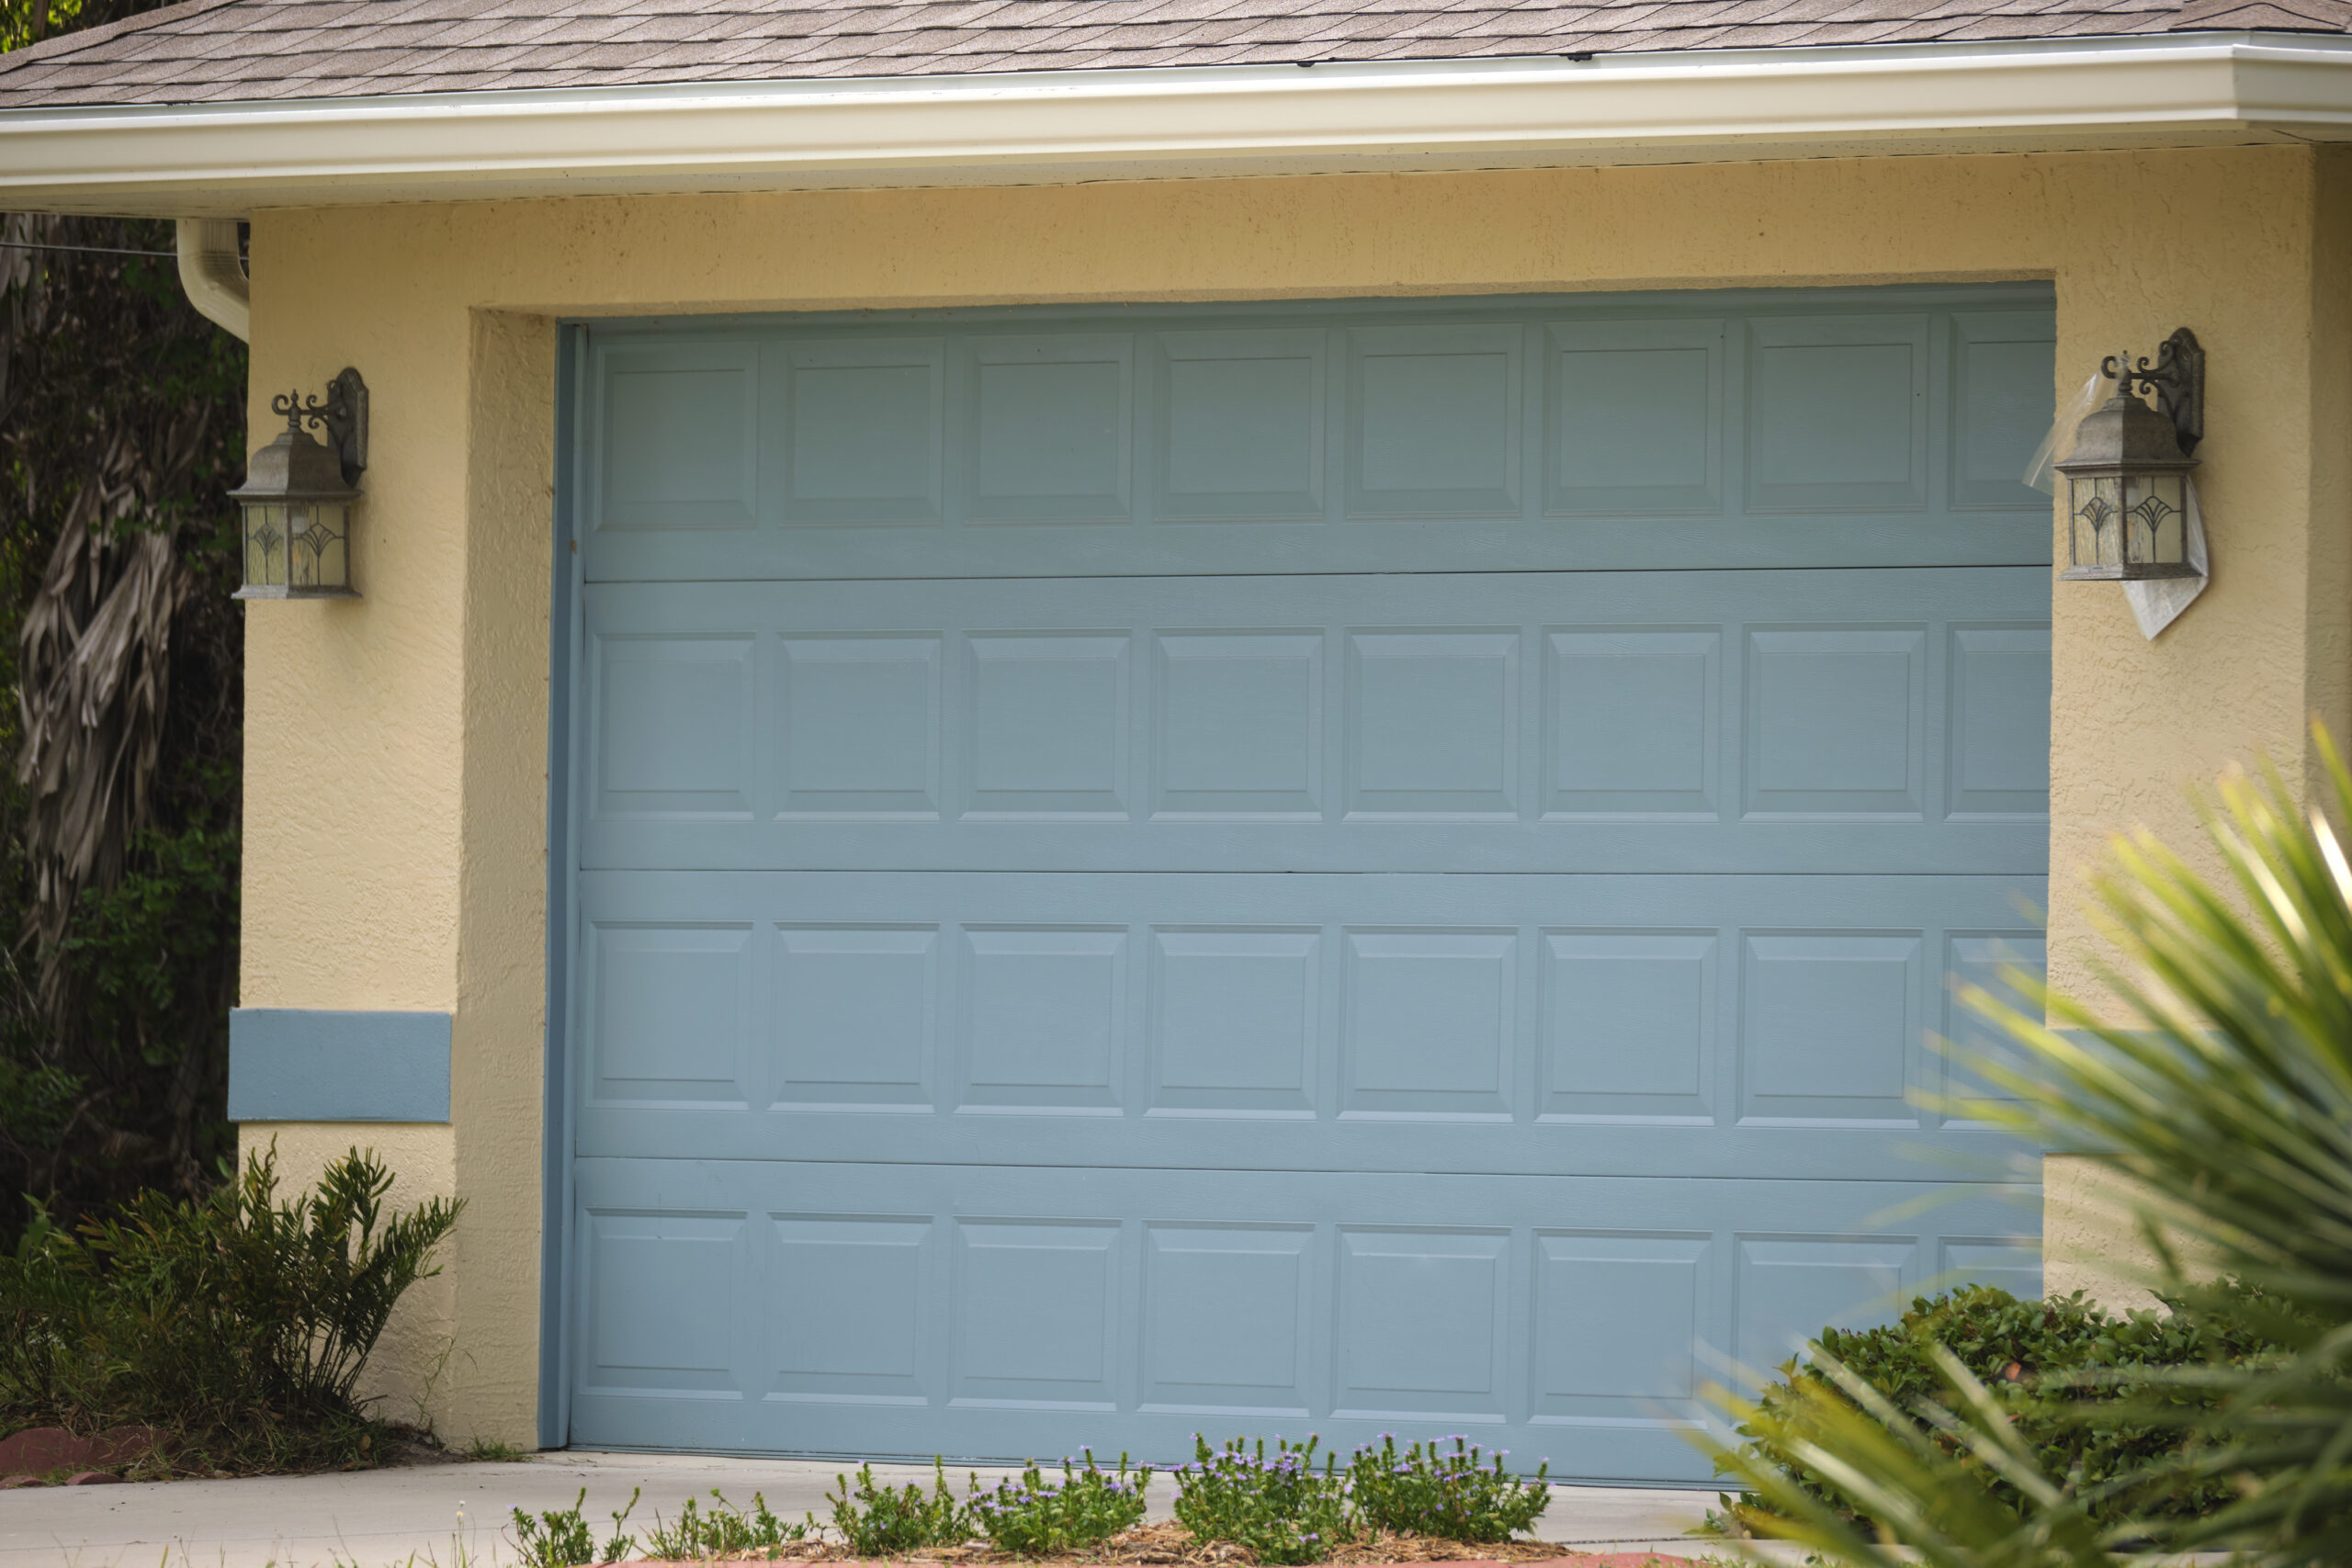
Once you’ve determined the correct type, give the color some thought. Choose a complementary color that you used as a highlight color on the rest of the house for a cohesive look. For example, match your garage door color to the hue of your window trim and shutters.
You may be looking to make a bold statement. Then, choose a bright color that pops, like red or green instead. (You do you!)
Prep the Surface of Your Garage Door for a Clean Finish
Prepping the surface of your garage door for painting is the most critical part of the job. It will help the paint adhere, create a more attractive result, and protect your door well into the future. Prepping makes the difference between a job that looks professional and one that looks amateur.
First, move all vehicles, tools, and equipment from the surrounding area. Protect nearby plants from paint chips with drop cloths. A drop cloth will also protect your driveway from any dripping paint.
Next, sand the surface to remove any old layers of paint and debris. Sanding will give color and stain a more even application, especially if you wax your garage door. After sanding, caulk any gaps and pits in the wood for a smoother surface.
Next, remove any rust with a wire brush. (If you notice an unusual amount of rust, it may be time to look into how long you have had your garage door and whether it’s enduring normal wear and tear or may need to be replaced).
Lastly, deep clean the surface and let it dry completely.
Recommended Tools:
Sanding sponge or circular sander
Drop cloth
Cleaning supplies
Goggles
Dusk mask
Wire brush
Prime, Prime, Prime!
Most primers are matte finish, like chalk paint. They provide a tacky, even surface for the paint to stick. Primer also ensures the old color is fully concealed and does not affect the tone of the new color. You want to prime your garage door as you would paint it. Use an oil-based or latex exterior paint, depending on your type of garage door.
Before you begin, carefully apply painters tape as a guide to keep your lines clean and precise.
One coat of primer is typically enough but follow the directions on your paint. Multiple coats may be necessary if you plan to transition from a dark to a lighter color.
When completed, thoroughly clean your brushes to ensure that you don’t mix paint while keeping your brushes flexible for the next day. If using a sprayer, turn off any nearby appliances. Remove any hardware and cover outdoor lamps. If plants are growing nearby, cover them to protect them from paint.
Recommended Tools:
Painters tape
Kraft paper
Paint roller
Wide paintbrush
Paint sprayer
Painting Your Garage Door the Right Way
Now comes the satisfying part. Once your priming layers are completely dried, it’s time to paint.
Before you begin the painting process, check the weather ahead of time. If the weather is too hot or too cold, the paint may not set correctly. An overcast day without wind is ideal.
Switch your garage door to manual lift for full control over opening and closing. Start by painting the recessed parts of your garage door, if any. Throughout the process, maintain a wet but not dripping edge on your brush. If painting wood, go with the grain of the wood, and always start from the bottom upward.
A good rule of thumb is to let each coat of paint dry for a minimum of 12 hours but be sure to check the directions on your selected paint. Some colors or stains may require a full 24 hours. Apply at least two coats for the best finish.
After the paint has dried, remove the painter’s tape at a 45-degree angle. If you accidentally get paint on the glass, don’t worry! It can be removed with a razor blade.
Important Things to Remember
Figuring out how to paint a garage door comes down to following the right processes. Take your time with each step to ensure a beautiful, professional-looking finish.
Remember that painting your garage door is a great time to check for maintenance issues. Use the time you spend cleaning and prepping your door to check for any damage to your door following our checklist. The last thing you want is to spend time painting a door that needs repaired or replaced.
Paint creates a quick, effective cosmetic upgrade but if you’re looking for a fully customized look, consider a custom-built garage door. Contact American Garage Door today for more information or a quote.